Do you want to own your own Siege Turtle? Well, you have come to the right place because, in this guide, we will be going over how to get the Turtle Mount, and everything else you need to know about it.
Introduction
The Siege Turtle was introduced in the End of Dragons expansion and is a combat mount. It is the only mount that accommodates two players at the same time where the main seat would be the driver, and the passenger seat would be the gunner.
This Turtle Mount is extremely useful for meta events in some maps as it can be used to destroy walls and gates, however, if you don’t have one, then you can simply borrow it from one of the NPCs in the map.
The Siege Turtle can also swim underwater just like the upgraded Skimmer, however, this mount does it naturally and players don’t have to complete a collection to make the turtle swim underwater.
Getting the Siege Turtle in Guild Wars 2
Getting the Siege Turtle is fairly easy relative to other mounts like the Skyscale or the Griffon. In simple terms, to get it, you have to get a Turtle Egg, then complete three collections. Once you complete all the collections, you will end up with 20 Achievement points and a fully grown Siege Turtle.
Here is a step-by-step walkthrough of how to get the Turtle Egg and complete the Stomping Around collection for the Siege Turtle.
Get the Turtle Egg
To get the Turtle Egg you can do one of two things:
- Successfully complete the Dragon’s End meta event.
- Purchase it from Peddler who is located in Dragon’s End in any of those locations the Xunlai Jade Quarry, Southern Bluff, or The Jade Whirl for
Keep note that the Turtle Egg is not an item that will be placed in your inventory, but it only unlocks the Stomping Around achievement. This achievement involves three other collections that will have you go all over Cantha purchasing items and completing events to get all the necessary items to fully grow a Siege Turtle.
Talk to Rota in Arborstone
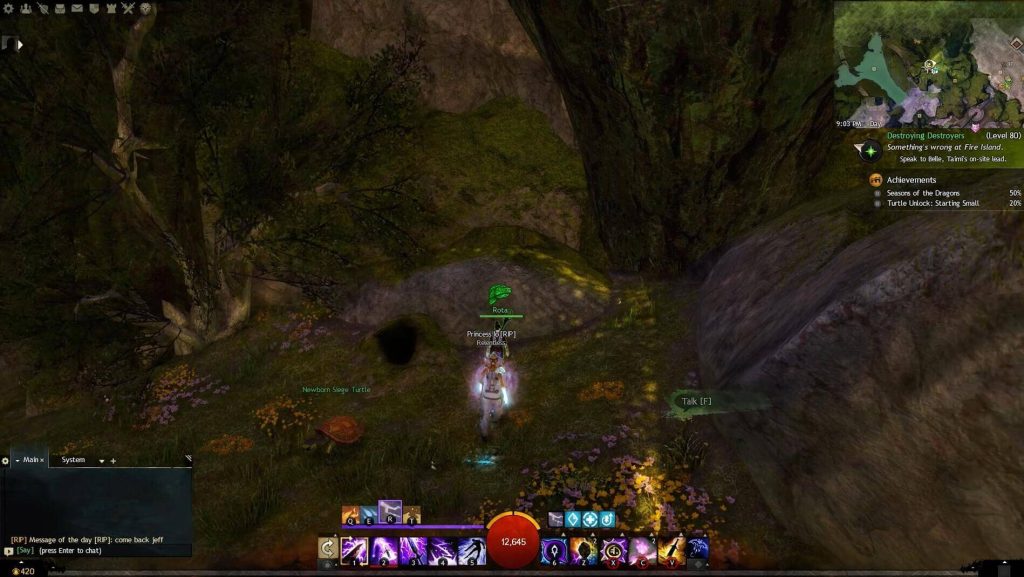
After getting the egg, head over to Rota in Arborstone who is located on the northern outskirts of the area, and speak to her. This will unlock the first sub-collection called Turtle Unlock: Starting Small.
Turtle Unlock: Starting Small
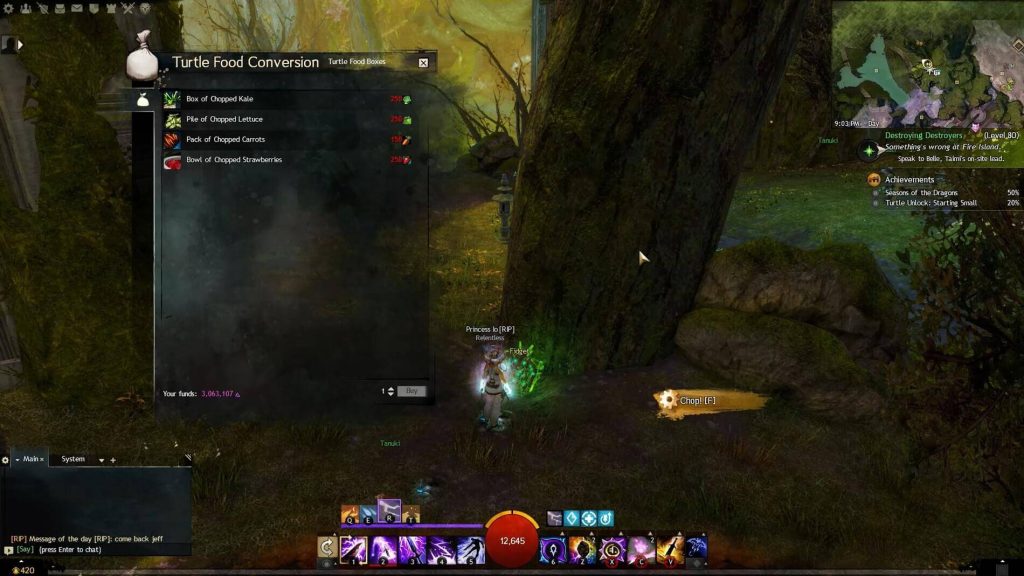
Go to Fidget which is located next to Rota in Arborstone with the following items in your inventory:
You can either harvest those items yourself or buy them off the trading post which will cost you roughly 12 to 15 gold.
Purchase all the items that Fidget is offering and you then talk to Rota. This will complete the Starting Small achievement that rewards you with 5 achievement points and unlocks the Getting Stronger achievement.
Turtle Unlock: Getting Stronger
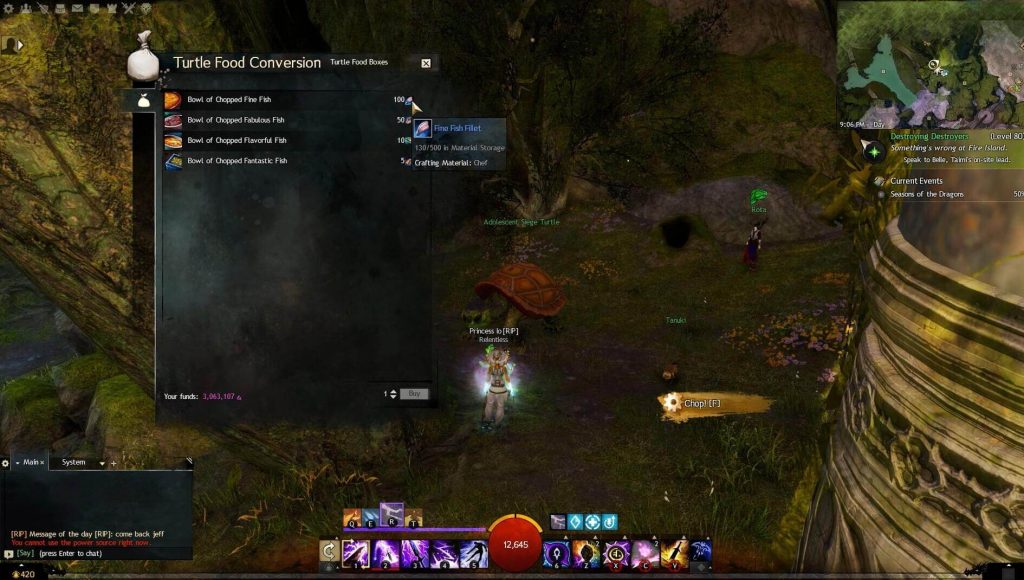
This collection is the second step toward unlocking your Turtle Mount. To get started, go back to Fidget with the following items in your inventory:
You can either fish those items yourself or buy them off the trading post which will cost you roughly 1 gold. My recommendation would be to buy them as they are cheap, and it will save you a lot of time.
If you prefer to fish the items yourself, then make sure you have the Fishing Mastery, then head over to any fishing spot and start fishing. Once you have enough fish, you can go to any fishmonger like Taro Everclaw in Arborstone and trade in those fish for the different types of fillet. You will need around 30 fish to get all the above-mentioned fillets.
Purchase all the items that Fidget is offering and then talk to Rota. This will complete the Getting Stronger achievement that rewards you with 5 achievement points and unlocks the Suiting Up achievement.
Turtle Unlock: Suiting Up
This is the most time-consuming achievement among all three, and it will take you all over Cantha to purchase items from Renown Heart vendors and complete certain events on different maps. However, this is the last collection you have to finish before you can unlock your Siege Turtle.
Luxon Tools
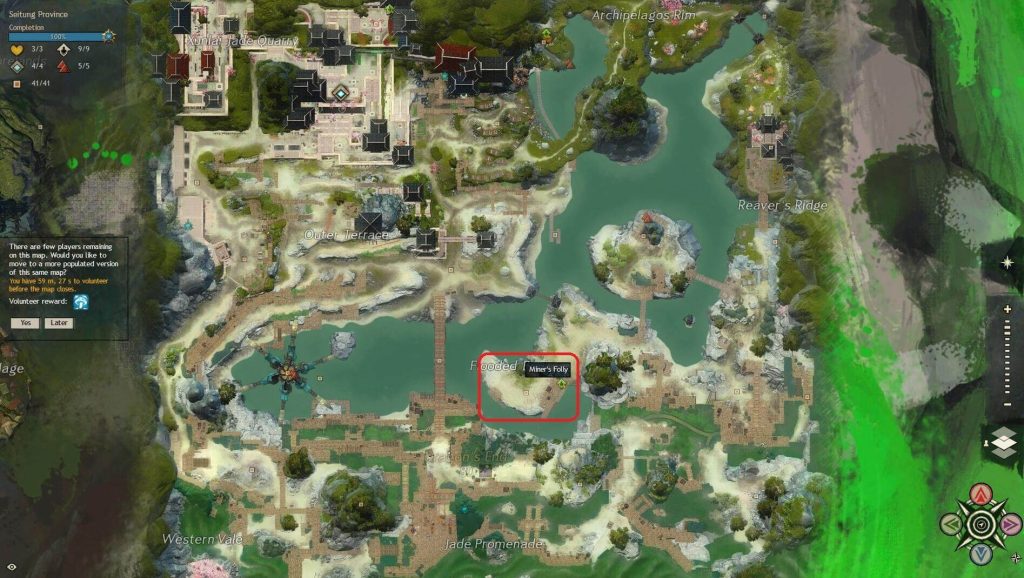
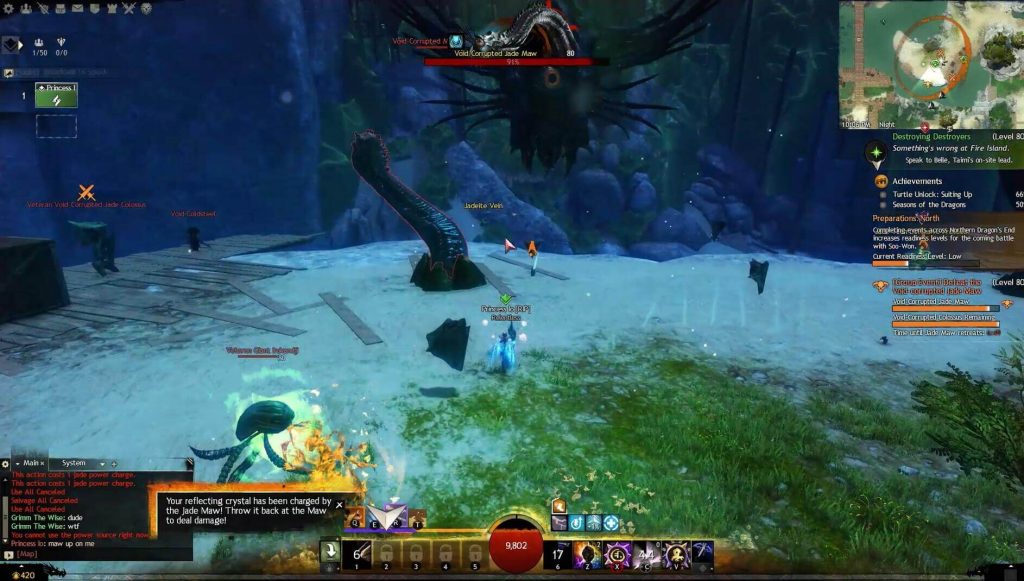
Defeat the Jade Maw in Dragon’s End. This event spawns at Miner’s Folly point of interest at xx:05 and xx:45 only if the map’s meta event is not running.
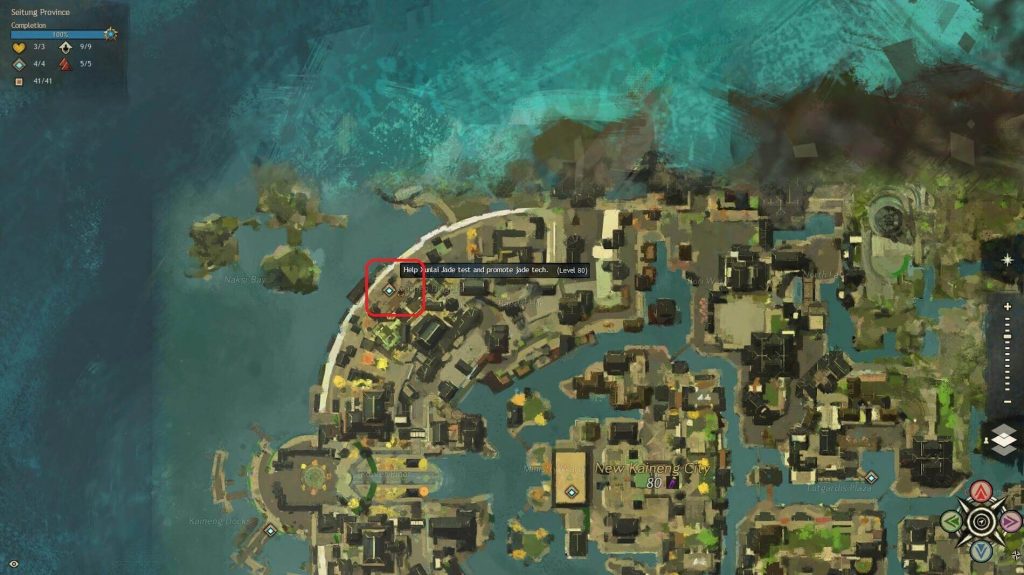
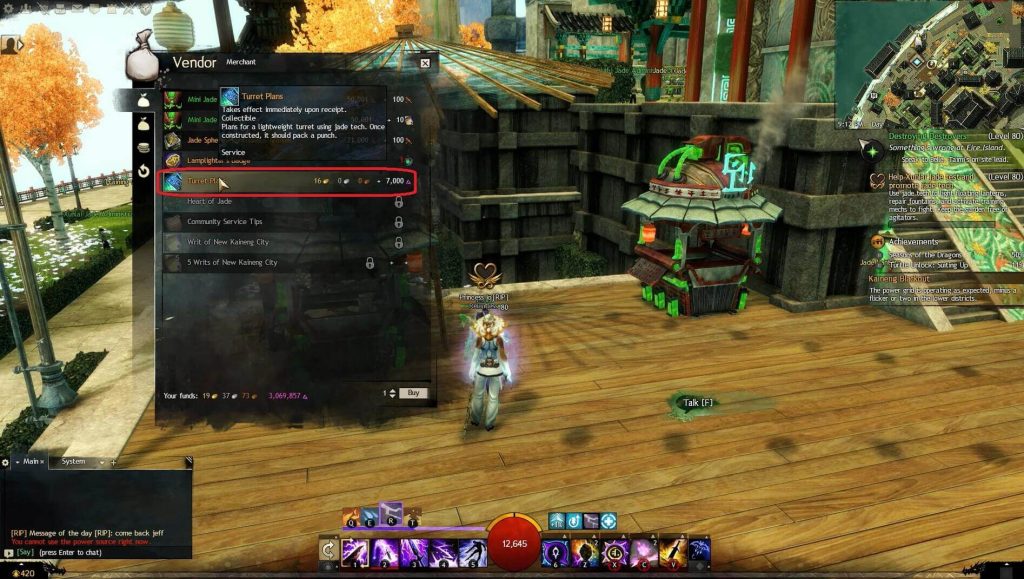
Turret Plans
Take the 
Turret Power Unit
Defeat Renyak who is the final boss in the Meta Event of Seitung Province. This event spawns every two hours, and you can track it using our world boss timer by looking for Aetherblade Assault.
Alleola Oil
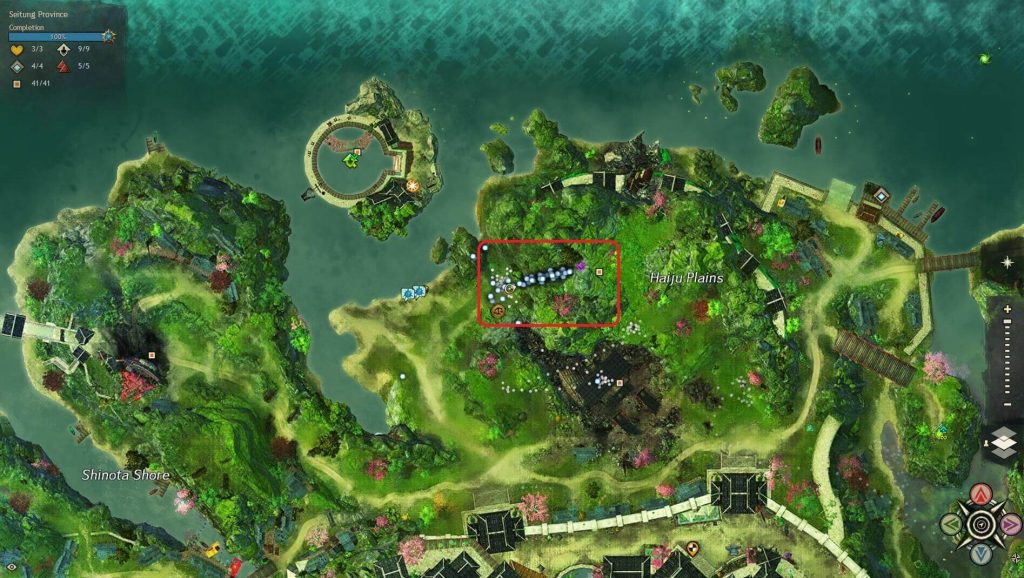
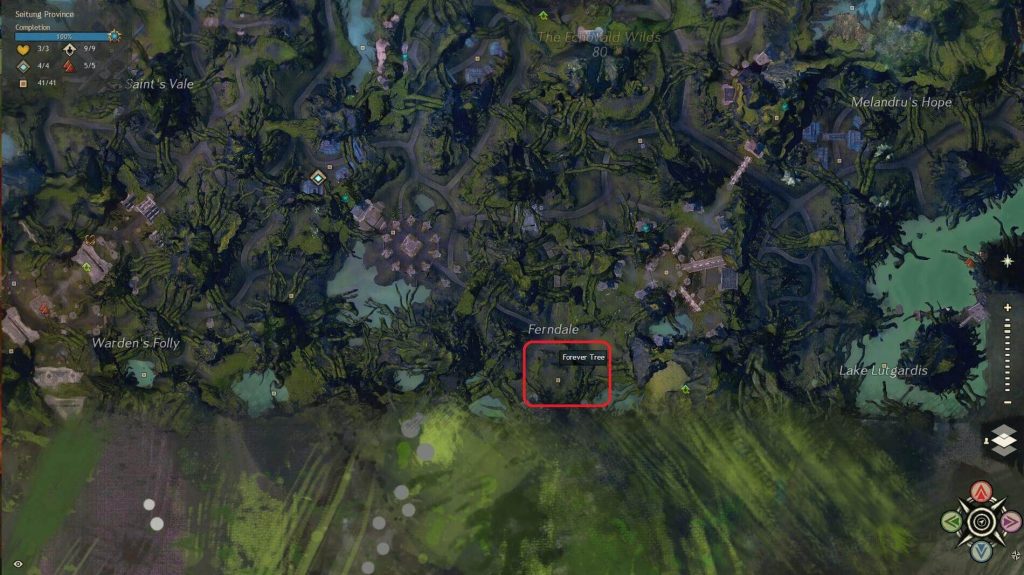
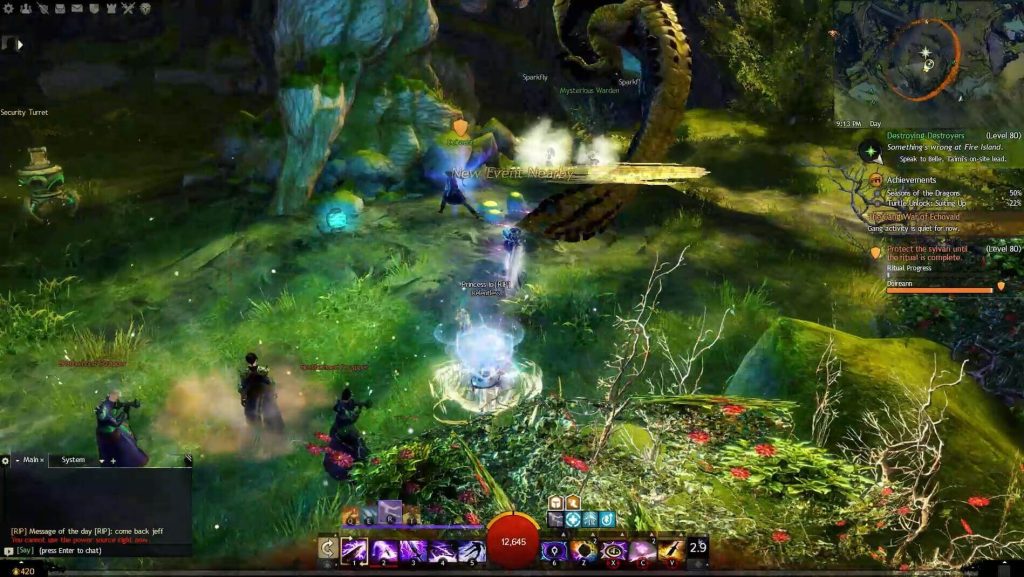
Complete any of the two events that spawn at the Forever Tree point of interest south of Echovald Wilds.
- Collect sap for the restoration ritual before the plants stop producing it
- Protect the Sylvari until the ritual is complete
The best way to get here is by taking the 
Deluxe Leather Seating
Defeat Leviathan in either Seitung Province or New Kaineng City. The best way to do that is by opening the Community tab and finding people that are doing Levi Farm. You will find one squad almost every time.
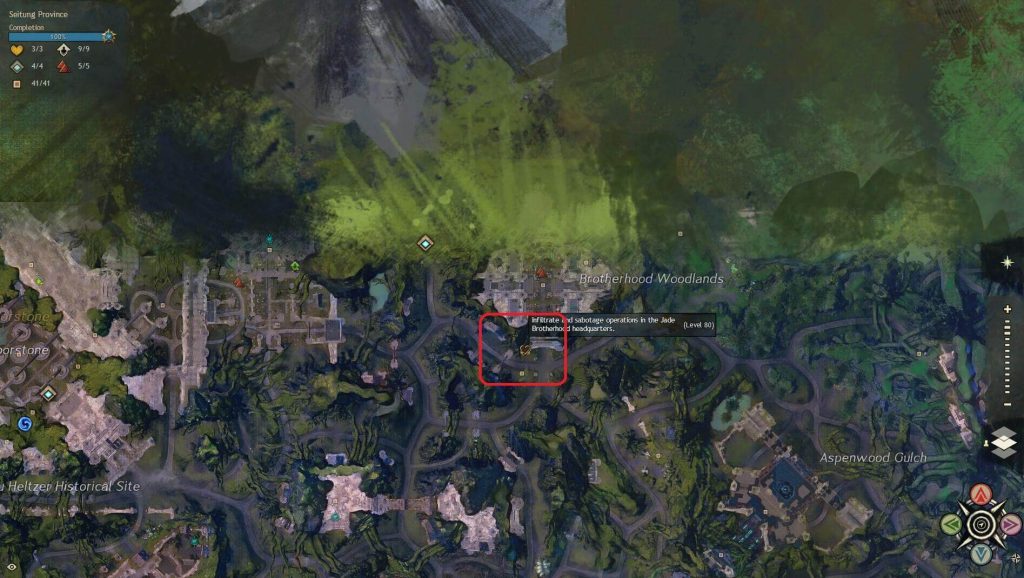
Thruster Plans
Take the 
Thruster Control Unit
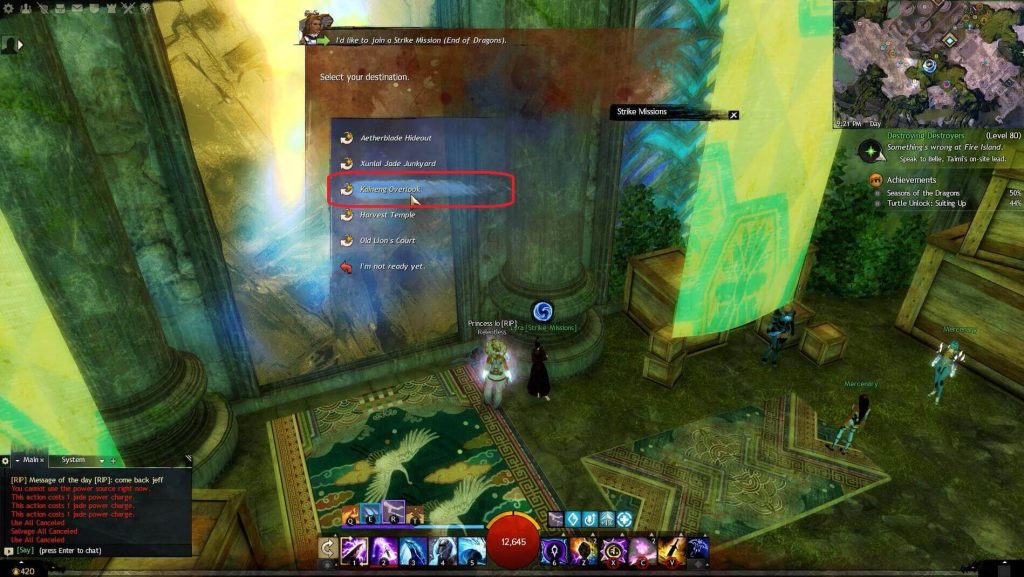
Either complete the Strike Mission: Kaineng Overlook or purchase it from a Requisitions Specialist in Gyala Delve for 

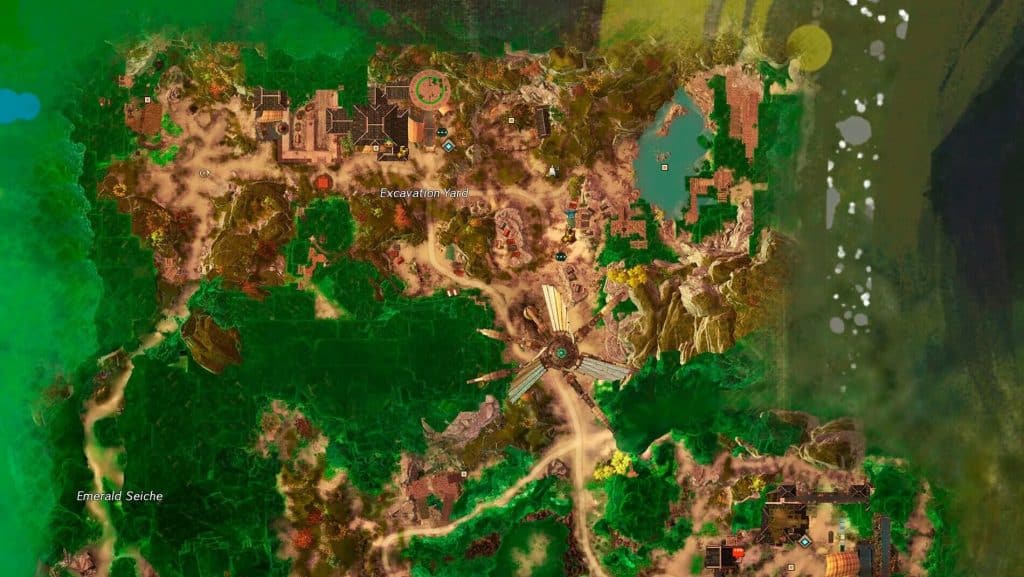
- Excavation Yard (Always Present)
- The Hollow (Only shows up after completing an event)
- Howling Caves (Only shows up after completing an event)
- Jade Pools (Only shows up after completing an event)
Saddle Color Selection
Trade in 25 Unidentified Dyes at Fidget, the vendor next to Rota in Arborstone.
Finally, talk to Rota one last time
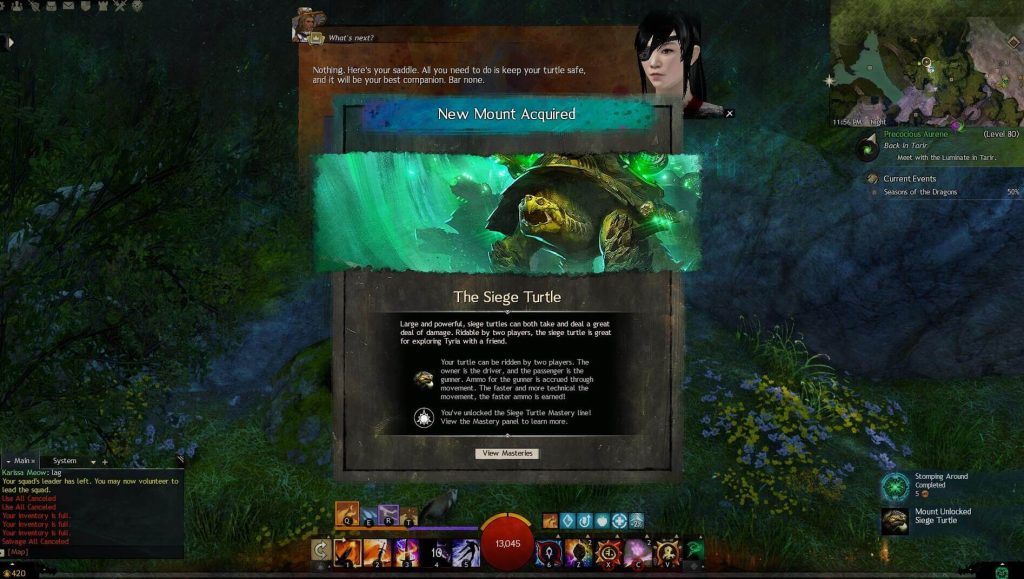
Once you have completed all the collections, the final step of Stomping Around would be to talk to Rota one final time, and then you will see this notification popup on your screen.
GW2 Siege Turtle Abilities
The Siege turtle has different abilities for the driver and the gunner.
Driver Abilities
The Driver’s abilities are focused more on maneuverability rather than offense.
| Ability | Description |
|---|---|
| Open Access | Allow anyone to sit in the passenger seat. |
| Restrict Access | Restrict the passenger seat to squad and party members only. |
| Slam | Leap forward and slam the ground knocking back foes. |
| Activate Jump Jets | Hold the hotkey to make the Turtle fly with its jets. This ability causes burning to all enemies that pass through it. |
Gunner Abilities
The Gunner’s abilities are more on the offensive side of the Turtle.
| Ability | Description |
|---|---|
| Turtle Siege | Fire a barrage of jade bombs damaging and burning foes. |
| Hunker Down | Converts incoming damage to ammo, and incoming conditions to boons. |
| Overdrive | The Turtle becomes much faster and gets increased handling. |
Siege Turtle Masteries
The Siege Turtle has a total of five masteries, and getting all of them requires a total of 20 End of Dragons Mastery Points.
| Mastery | Mastery Points | Description |
|---|---|---|
| Turtle Health Boost | 2 |
Increases Turtle’s health by 50% |
| Slam Mastery | 3 |
Turtle now generates ammo after using Slam |
| Improved Jump Jets | 4 |
The Turtle can now jump farther and higher |
| Power Shell | 5 |
Converts incoming damage to ammo |
| Sharing Is Caring | 6 |
Shares the Turtle Health Boost mastery with all other mounts. (Warclaw in WvW does not get this boost though) |
That’s a wrap on how you can get the Siege Turtle. We will be updating this guide in case ArenaNet decides to add any new methods to obtain this mount.

